Jekyll
by Željko Filipin

I have started blogging in 2005. I’ve used many blogging tools since. In 2014 I’ve switched to Jekyll. I’m really surprised that I’ve never written about Jekyll until now.
How it works
I like Jekyll because it’s simple. Post are just Markdown files. For example, you can see the source for this post at GitHub. Jekyll transforms Markdown files into HTML files. That’s all.
How to deploy it
You can host the HTML files anywhere, if you choose.
There’s a simpler way. Host Markdown files at GitHub. There is no need to host HTML files. The code for my blog is at zeljkofilipin/filipin.eu, if you want to see how I do it. GitHub supports Jekyll via GitHub Pages. I will not go into detail about that in this post. In short, you push Markdown documents to Github, it renders the HTML files.
Local development environment
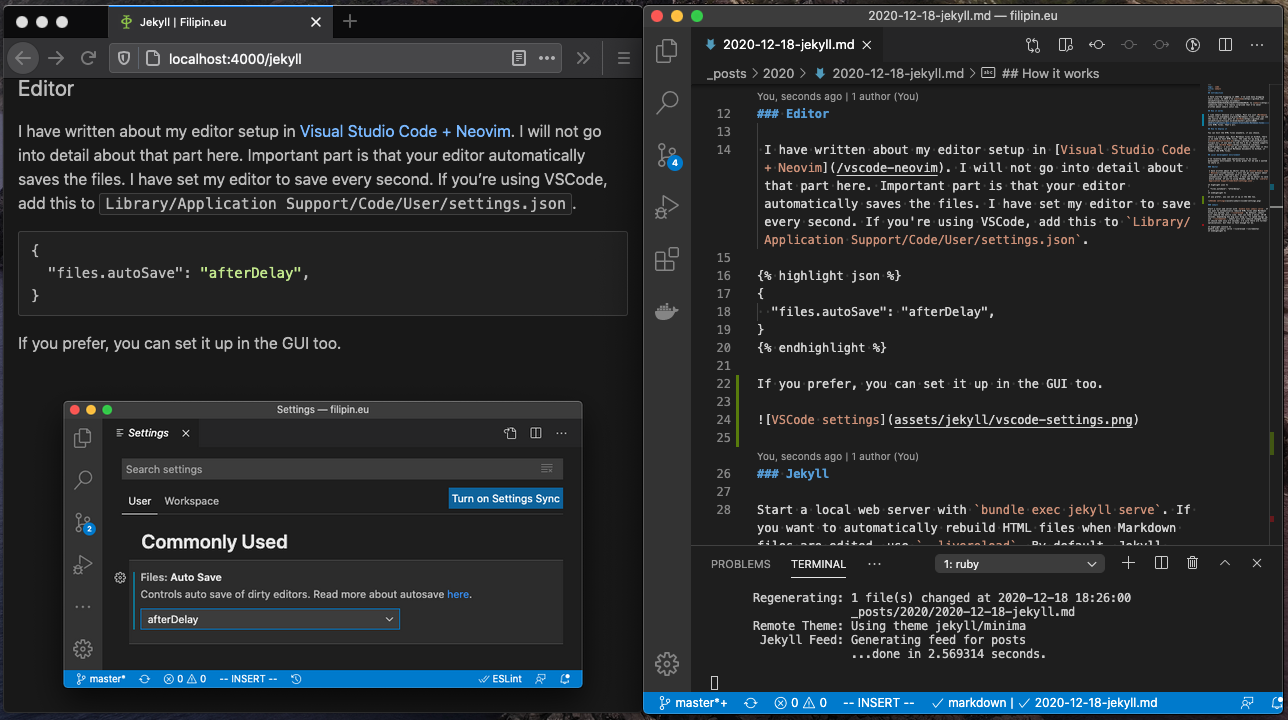
I’ve recently made some optimizations to my local development environment. It works great for me and I wanted to share it. When I work on a post, I have two windows open. In one window is the HTML of the post opened in a browser. In another window is Markdown in VSCode. See screenshot at the top of the post for an example. As I type the text in VSCode, it is saved every second. Jekyll needs 2-3 seconds to update the HTML. The post automatically updates in the browser.
Editor
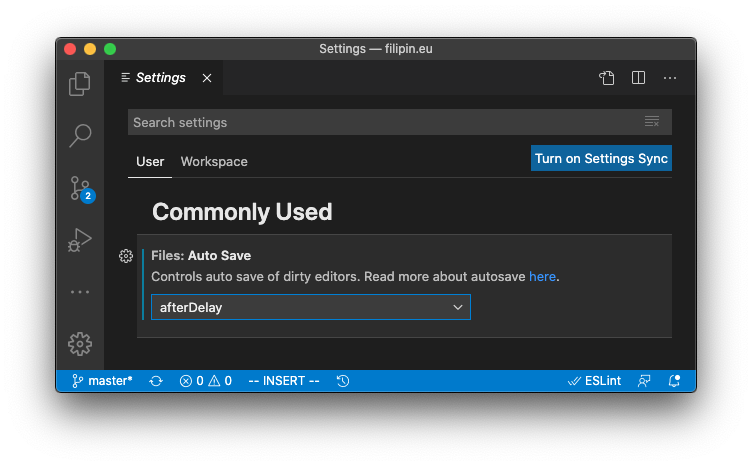
I have written about my editor setup in Visual Studio Code + Neovim. I will not go into detail about that part here. Important part is that your editor automatically saves the files. I have set my editor to save every second. If you’re using VSCode, add this to Library/Application Support/Code/User/settings.json.
{
  "files.autoSave": "afterDelay",
}
If you prefer, you can set it up in the GUI too.

Jekyll
Start a local web server with bundle exec jekyll serve. To automatically refresh the HTML file in the browser, use --livereload. By default, Jekyll will rebuild the entire site. That can take a while. 10-20 seconds, depending how big your blog is. To speed things up, use --incremental. Jekyll will only rebuild changed files. It should take only 2-3 seconds. I’m sure there are further optimizations, but that is fast enough for me.
In short, use this.
bundle exec jekyll serve --livereload --incrementalDemo
This video shows how it all works. In this example, I delete an image from the top of the article and move it under the first paragraph. The post in the browser automatically refreshes after a few seconds.
tags: blog - code - featured - photo - video - youtube